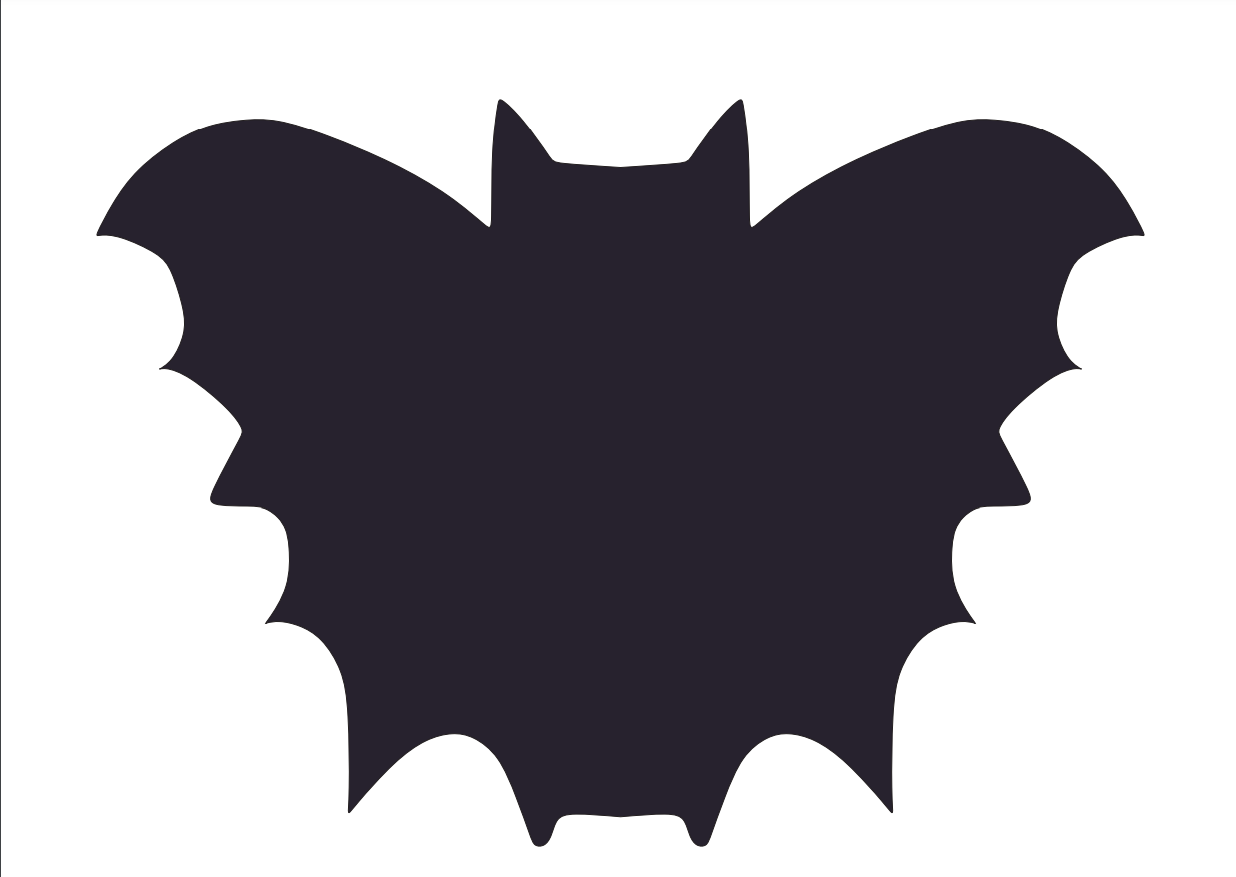
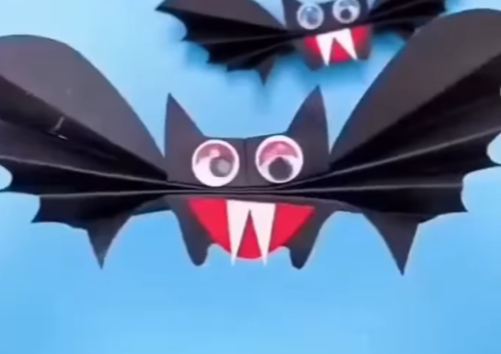
Are you looking for a fun and easy craft project that’s perfect for kids and adults alike? Look no further than this paper bat craft tutorial. With just a few basic supplies, you can create a cute and creepy bat that’s sure to be a hit. Let’s get started!
Materials Needed for Your Paper Bat Craft Tutorial:
- Construction Paper Printable bat template (bigger size) Bat_Printable
- Scissors
- Stapler
- Googly eyes
- Pencil
- Glue Stick
- A4 printing paper or construction paper

Instructions:
- Print the Template: Download or print the (Bat_Printable) provided bat template onto your printing paper or construction paper.
- Cut Out the Pieces: Carefully cut out the bat’s body, wings, mouth, and teeth from the template.
- Assemble the Bat: Fold the wings upward and staple them to the body along the edges. Attach the cut-out mouth to the bottom of the bat’s body. Cut out small triangles from black paper or use the provided teeth template to create teeth and attach them to the mouth.
- Add Details: Attach googly eyes to the bat’s face.
- Hang or Display: You can hang your paper bat using a piece of string or ribbon attached to the top. Alternatively, you can display it on a shelf or table.

Optional Enhancements:
- Color: Experiment with different colors of construction paper.
- Glitter: Add glitter to the wings or body for a sparkly touch.
Tips:
- Accuracy: Be precise when cutting and stapling for a clean result.
- Creativity: Have fun and get creative with your bat design.
- Storage: Store your paper bat in a plastic bag or sealed container to protect it.
Enjoy your homemade paper bat!
Watch our Instagram Reel to help with crafting


